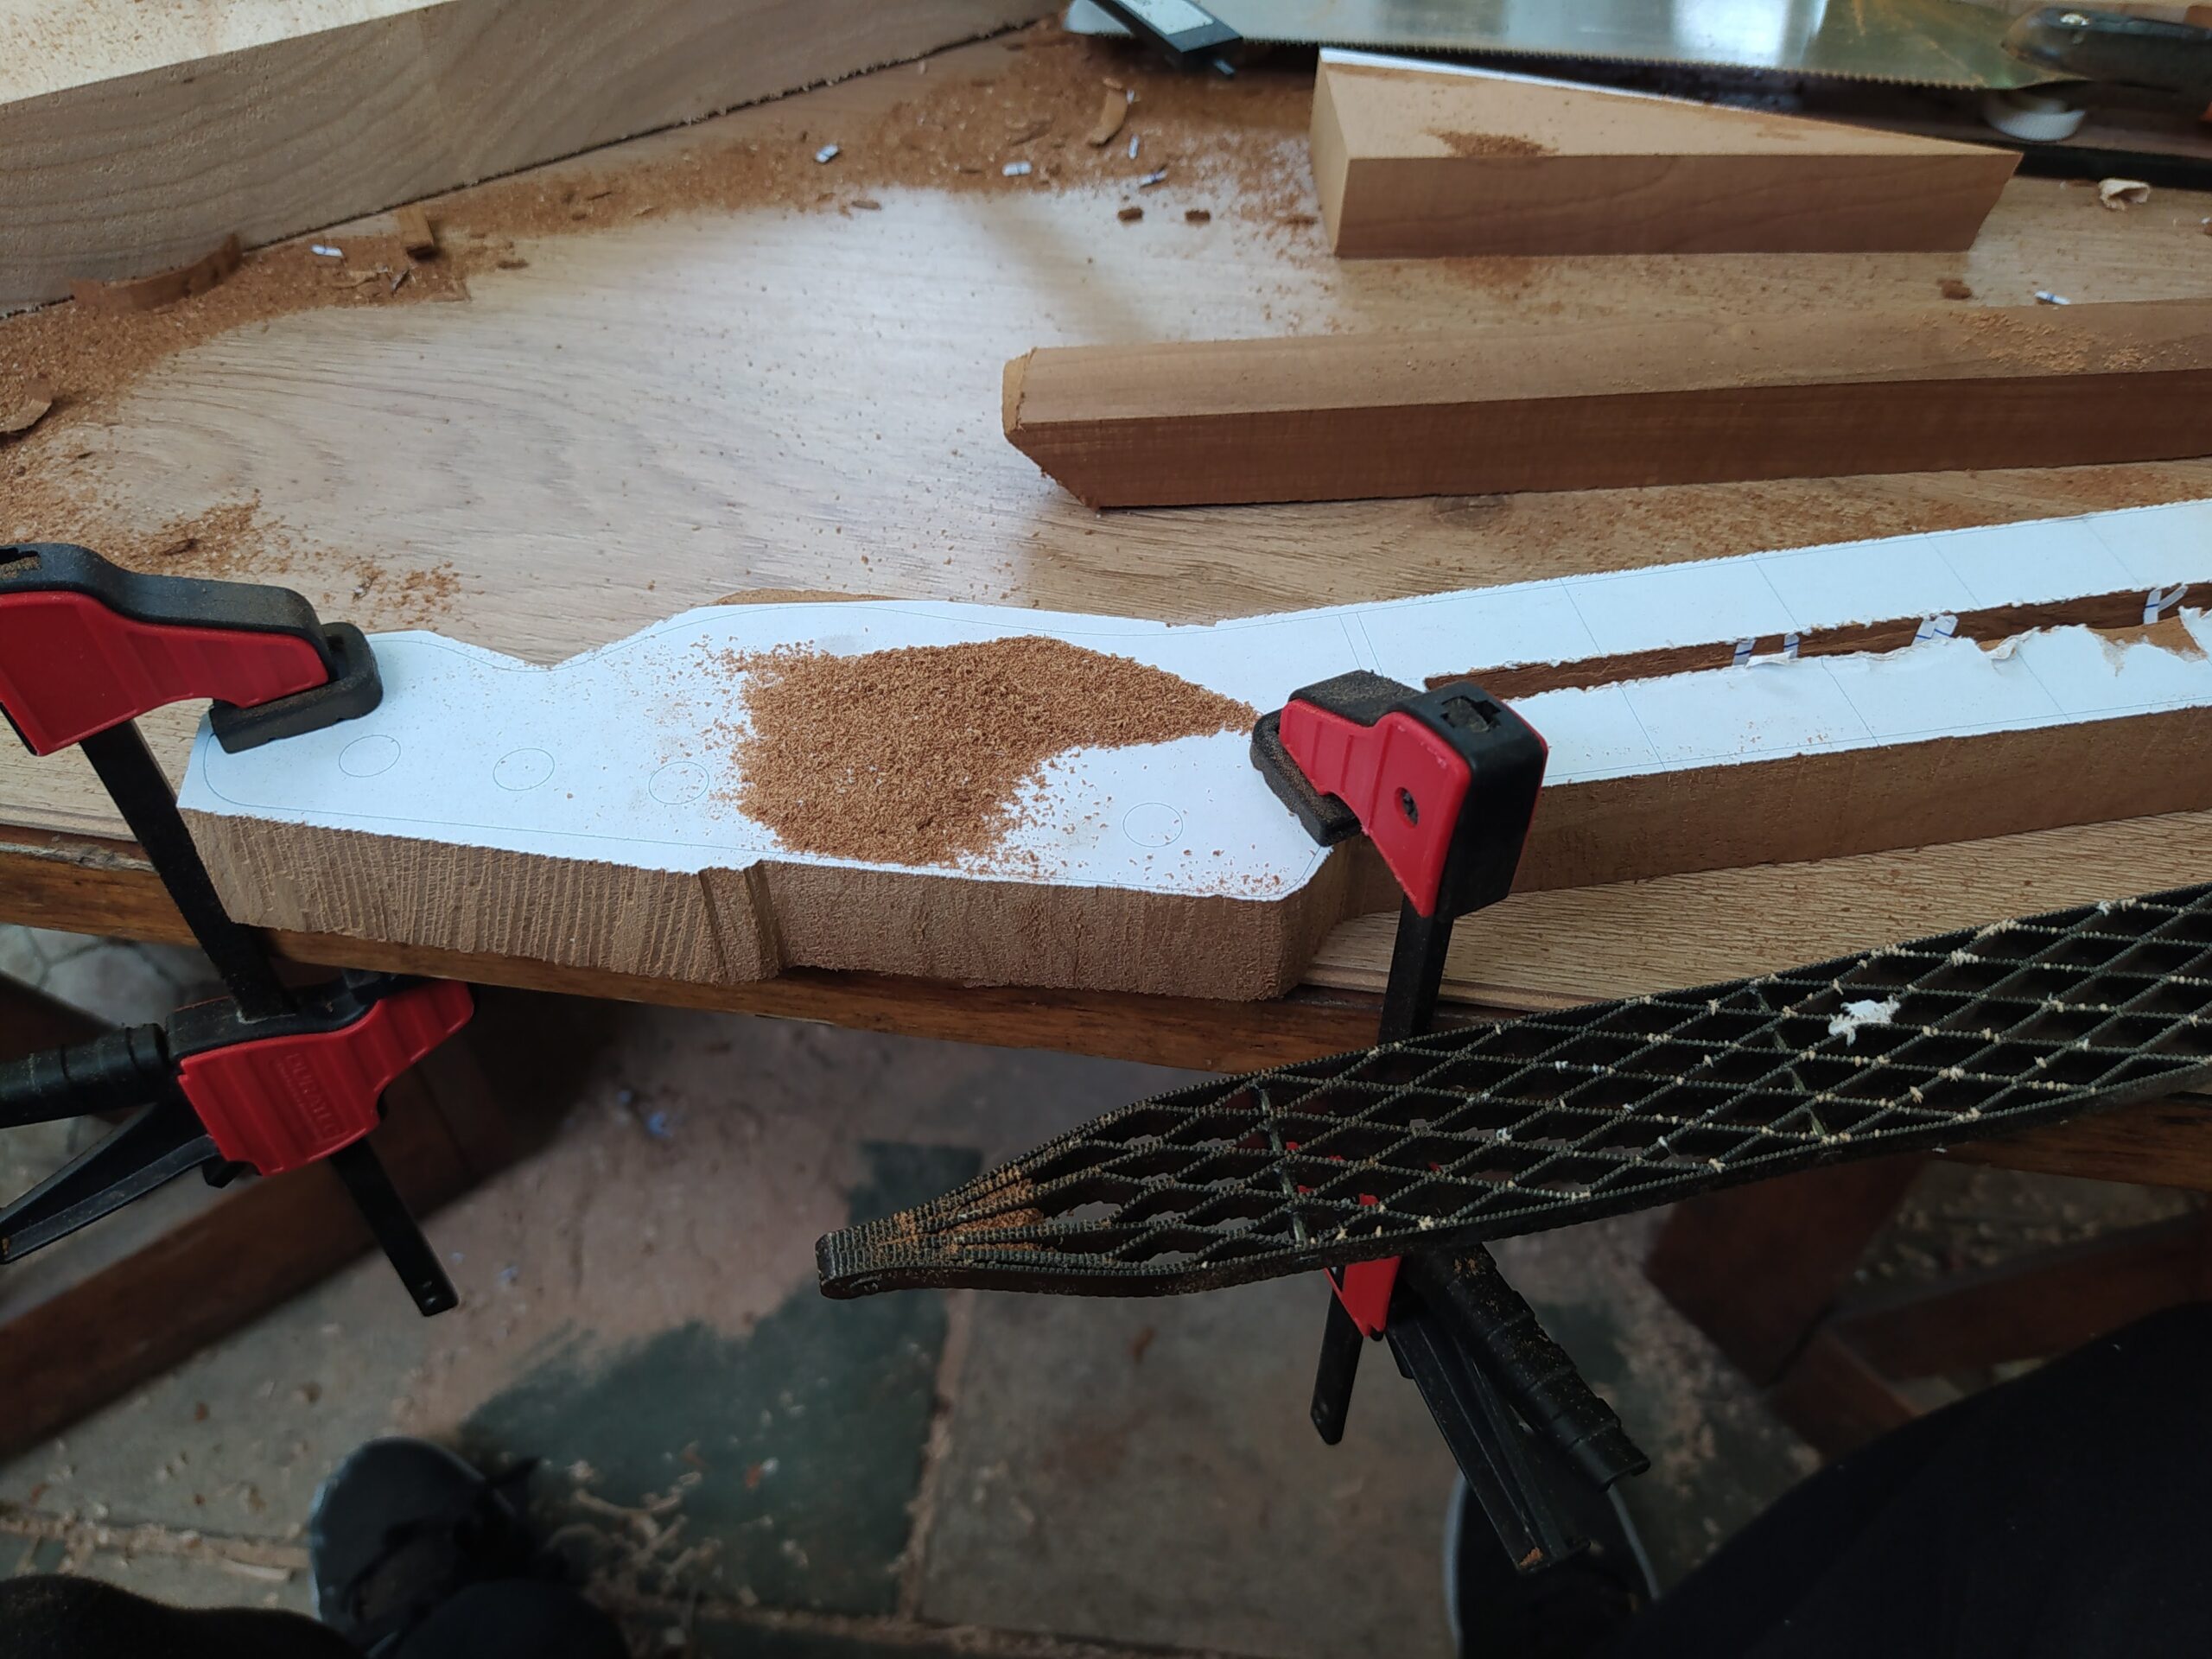

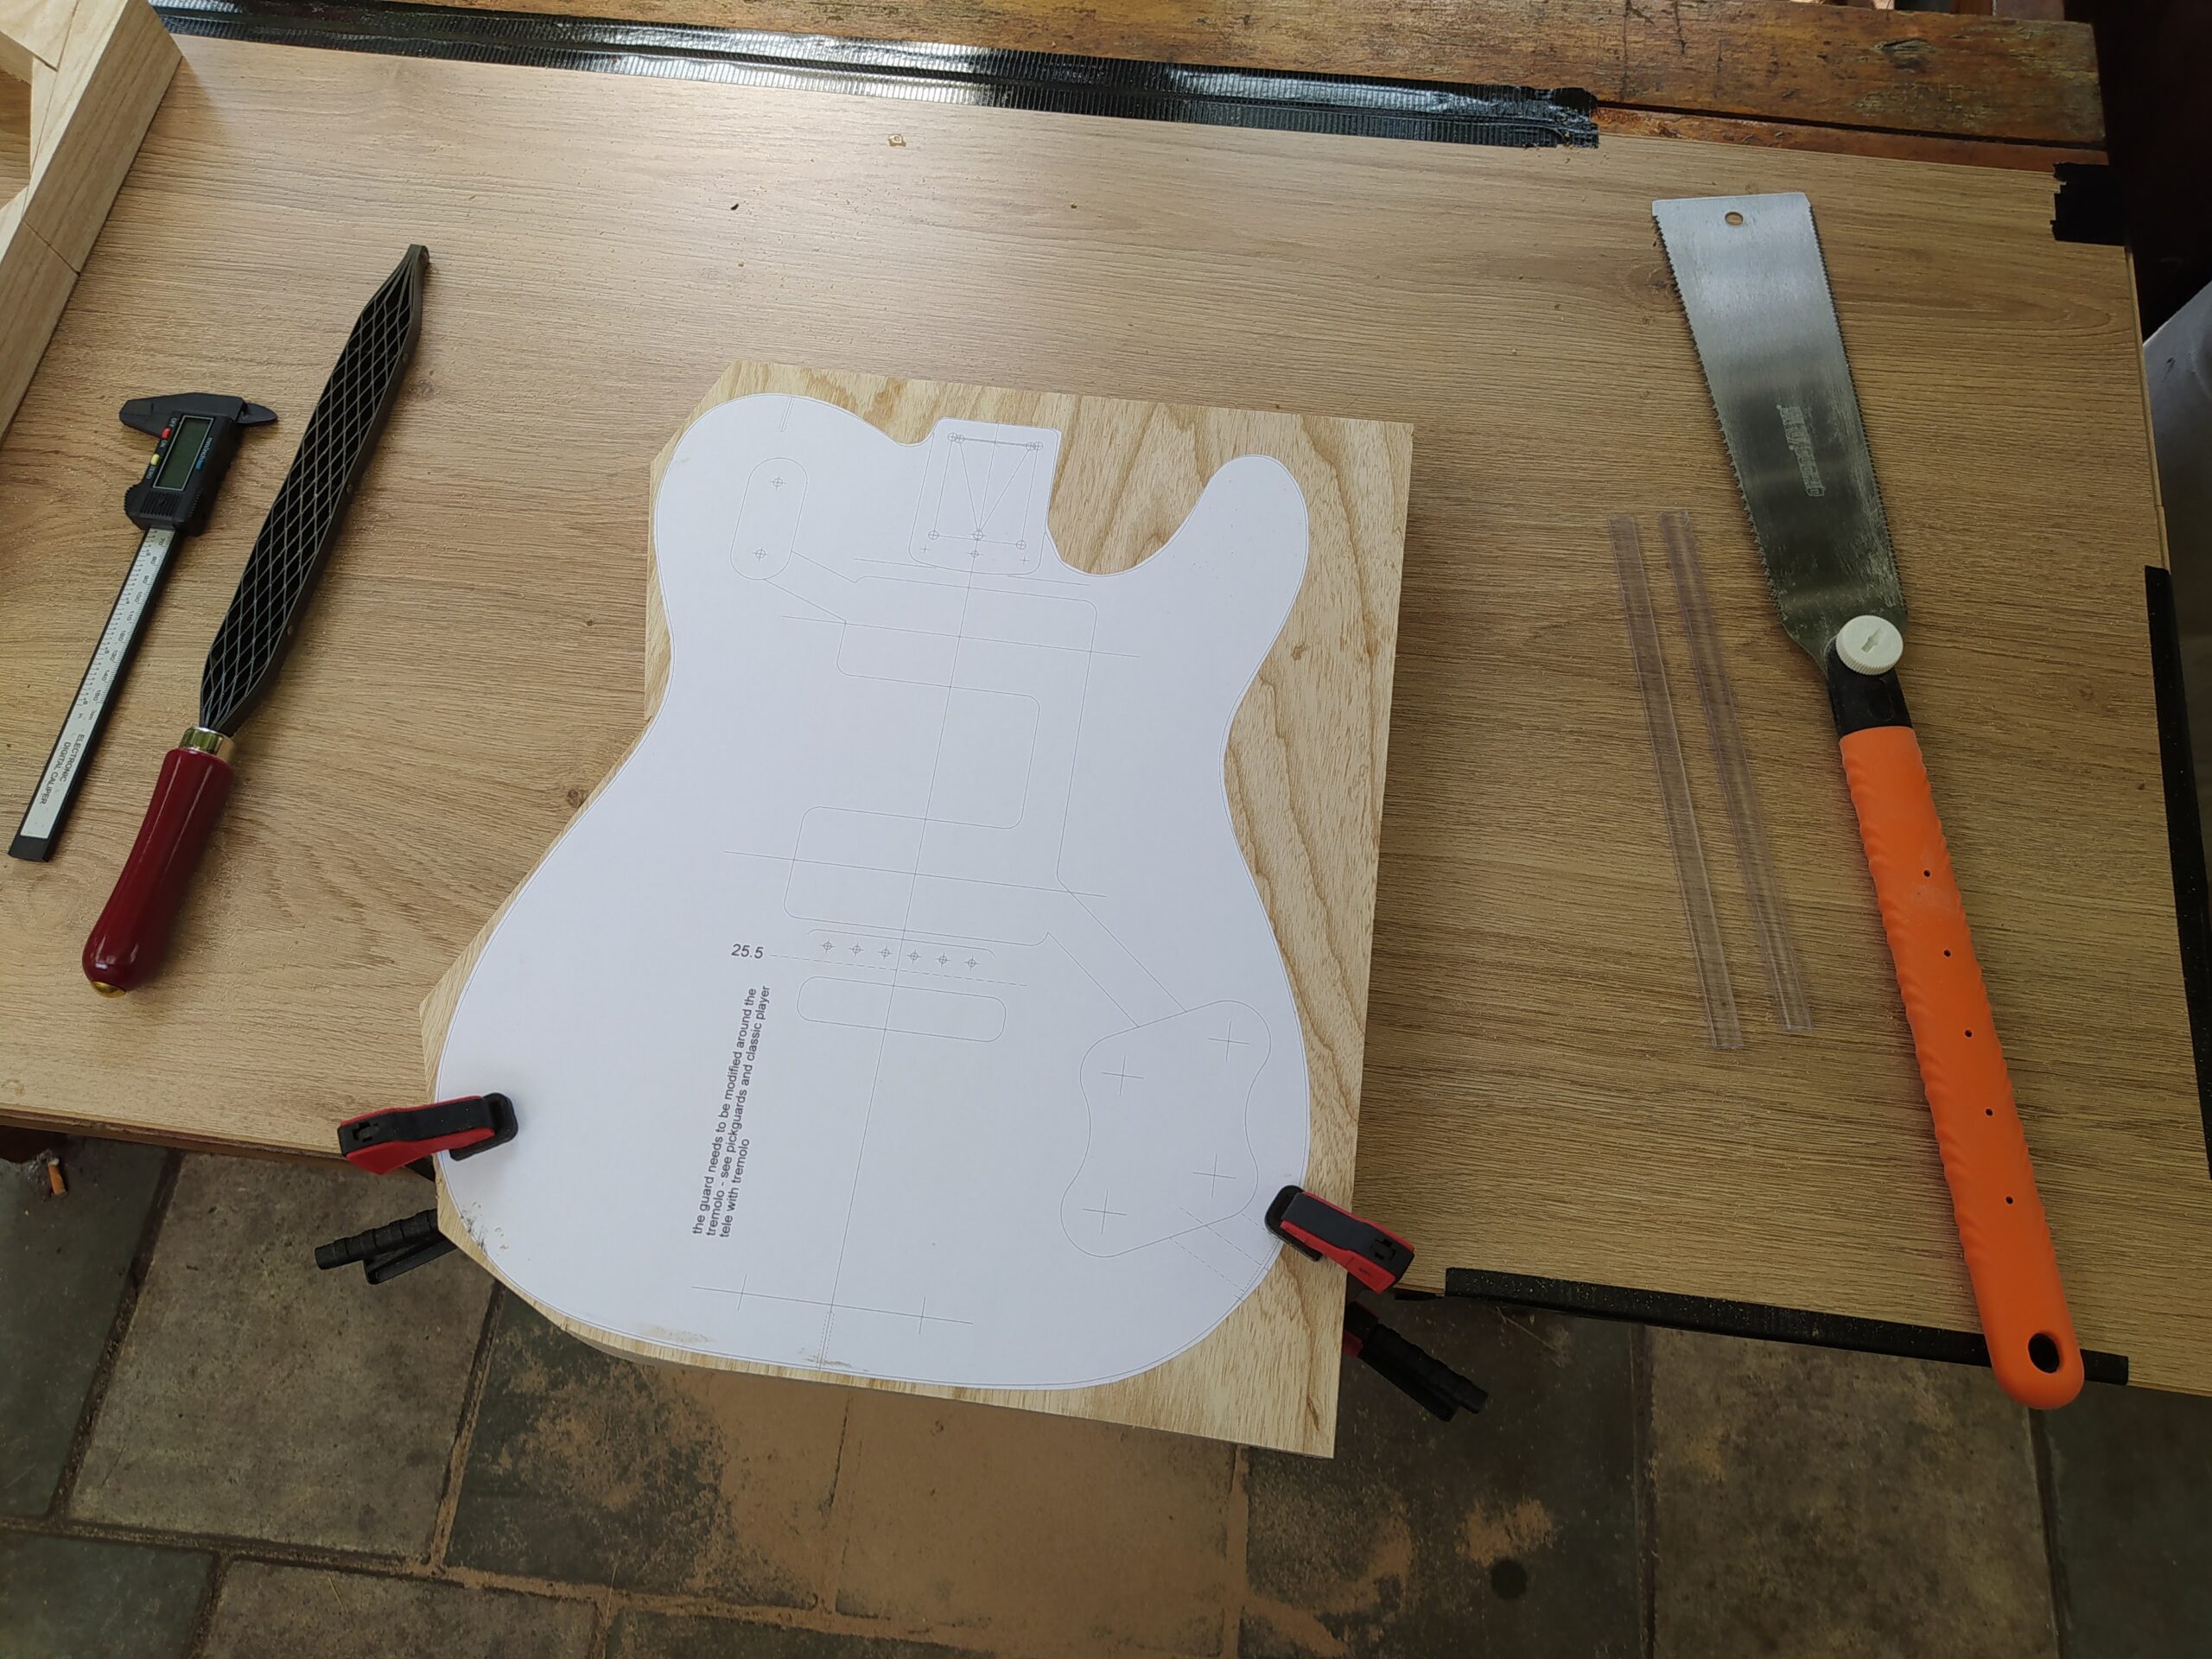
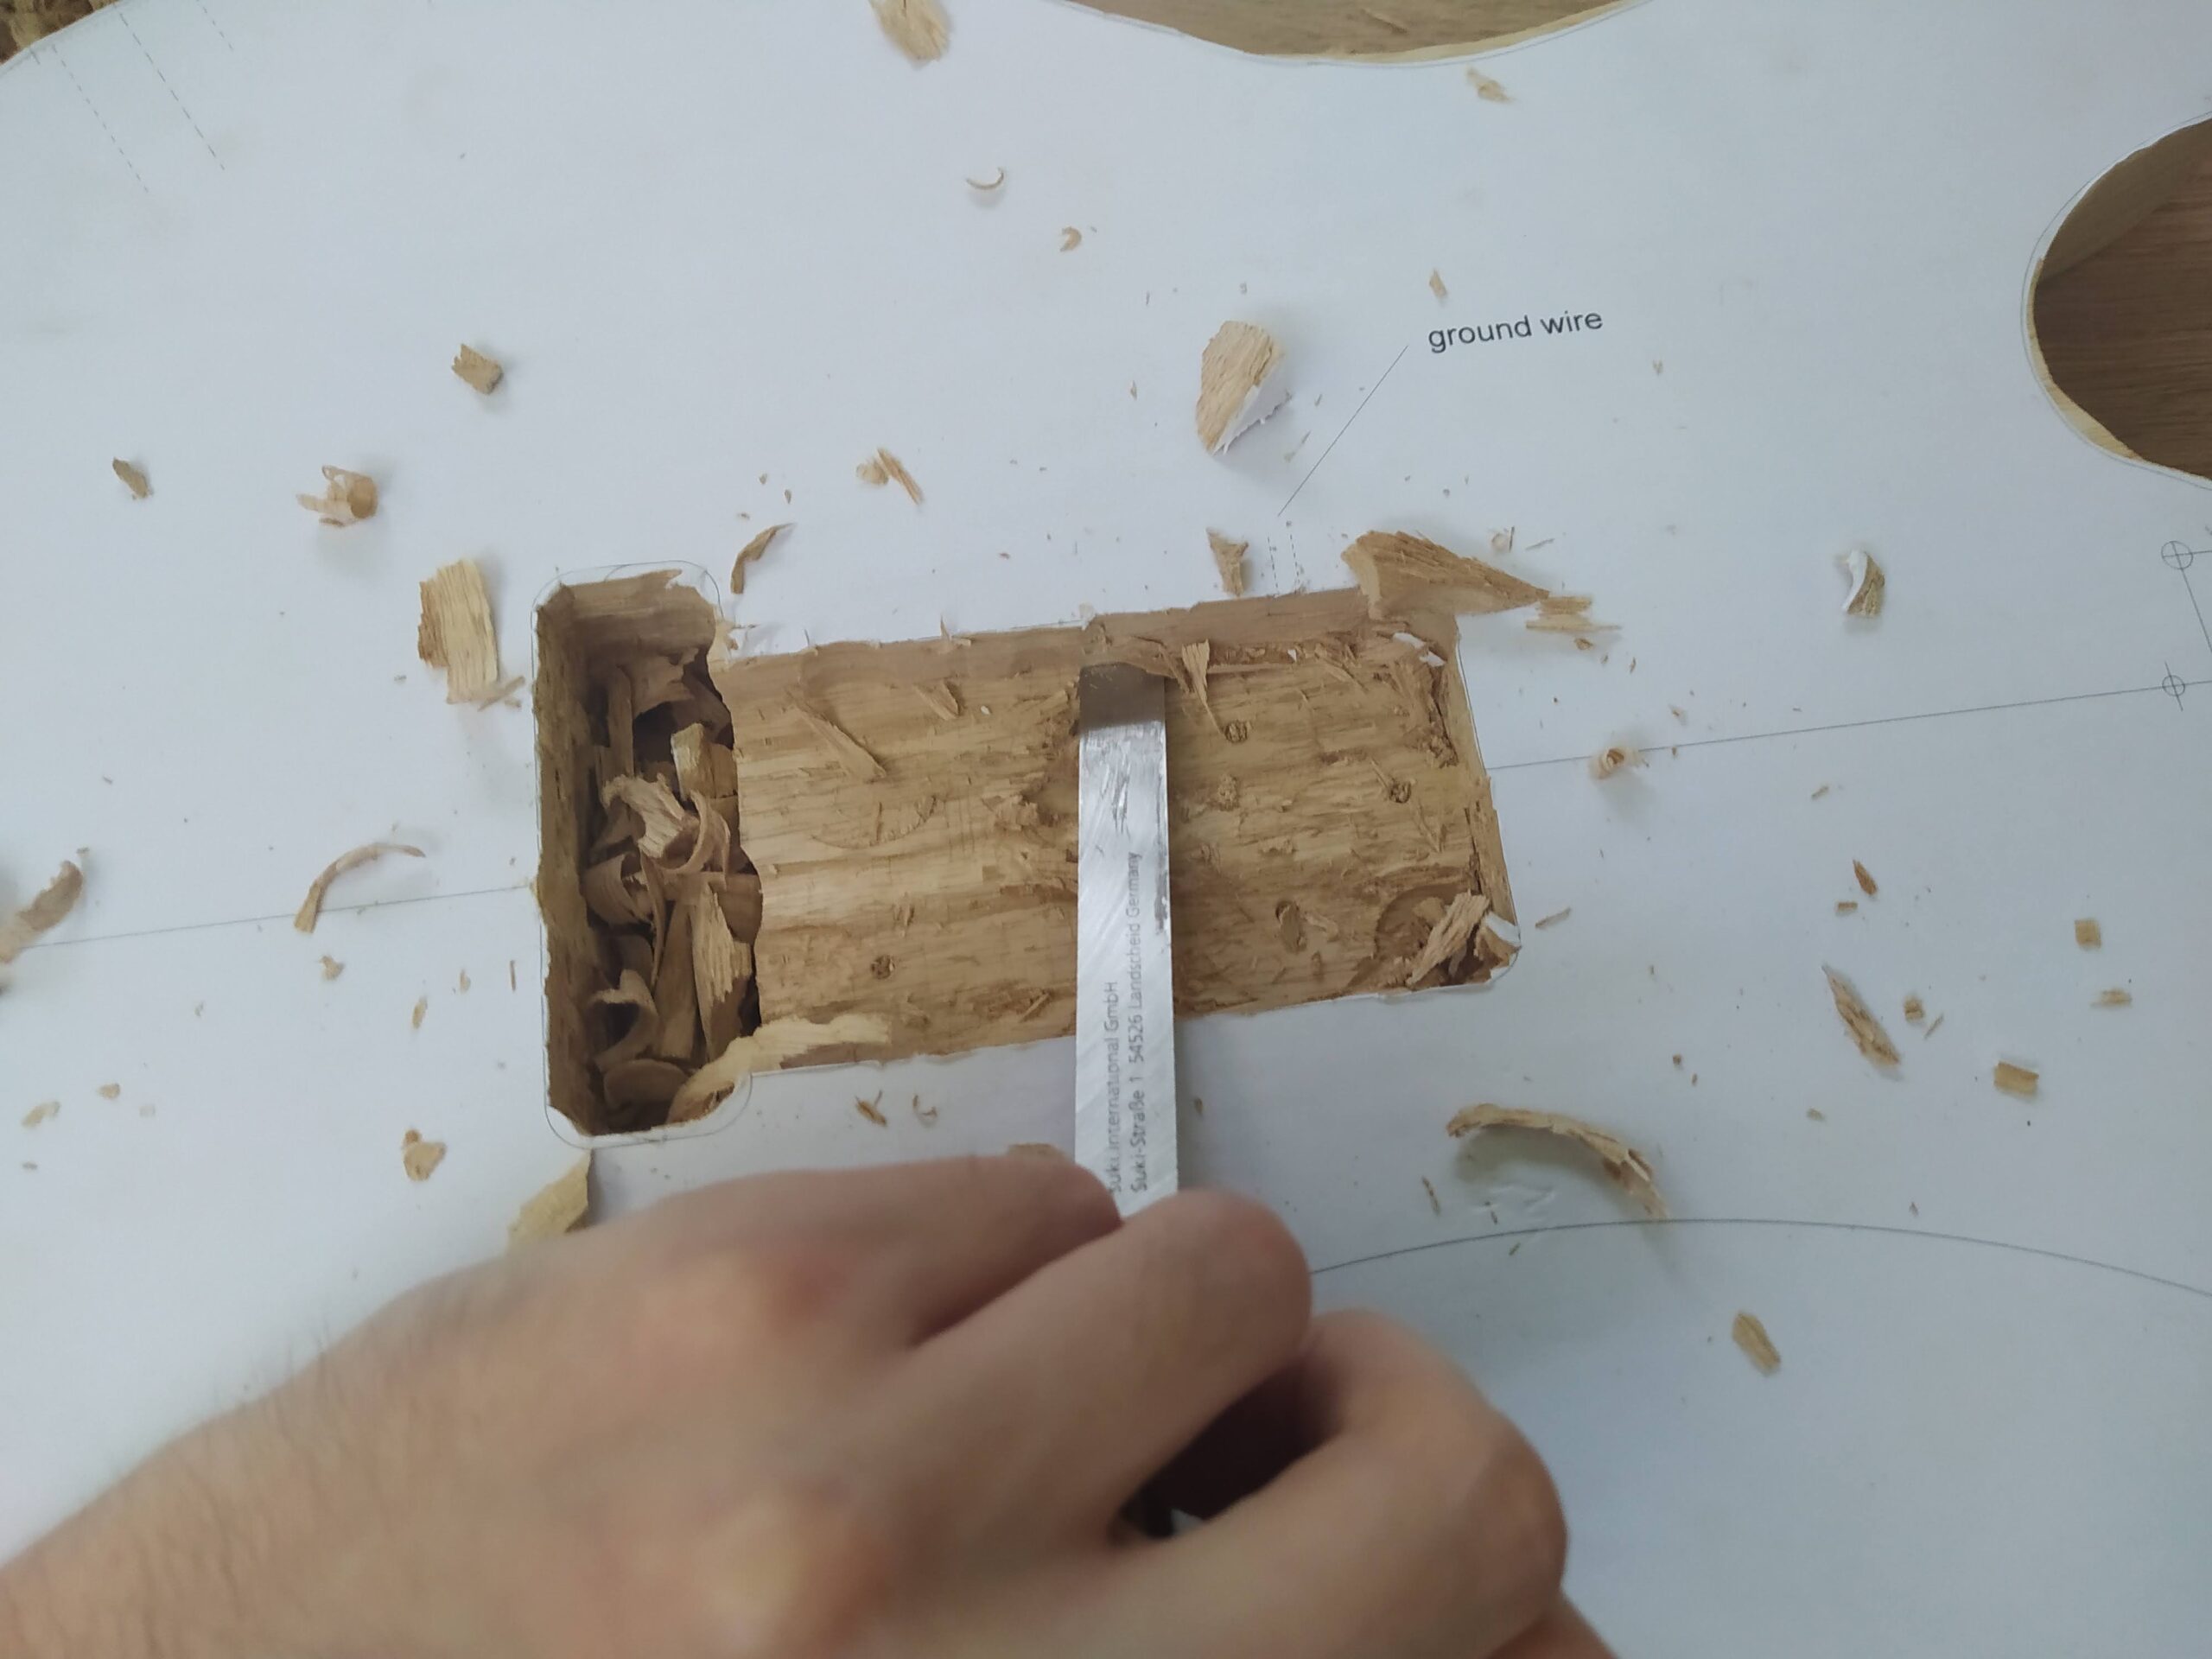
Like many things in life, this project started with a beautiful piece wood. Swamp Ash to be exact. A nice dense but relatively lightweight hardwood. I used a plotted template to cut out the general outline of the body using a Japanese pull saw. I decided before hand that I was going to make this entire guitar using only hand tools and an cordless drill. Next I used a shinto rasp to smooth out the shape and get as close to the line as possible. Next up was cutting out all of the pockets for the tremolo bridge, neck, controls and pickups. I did all of them by hand using a chisel and a hammer.
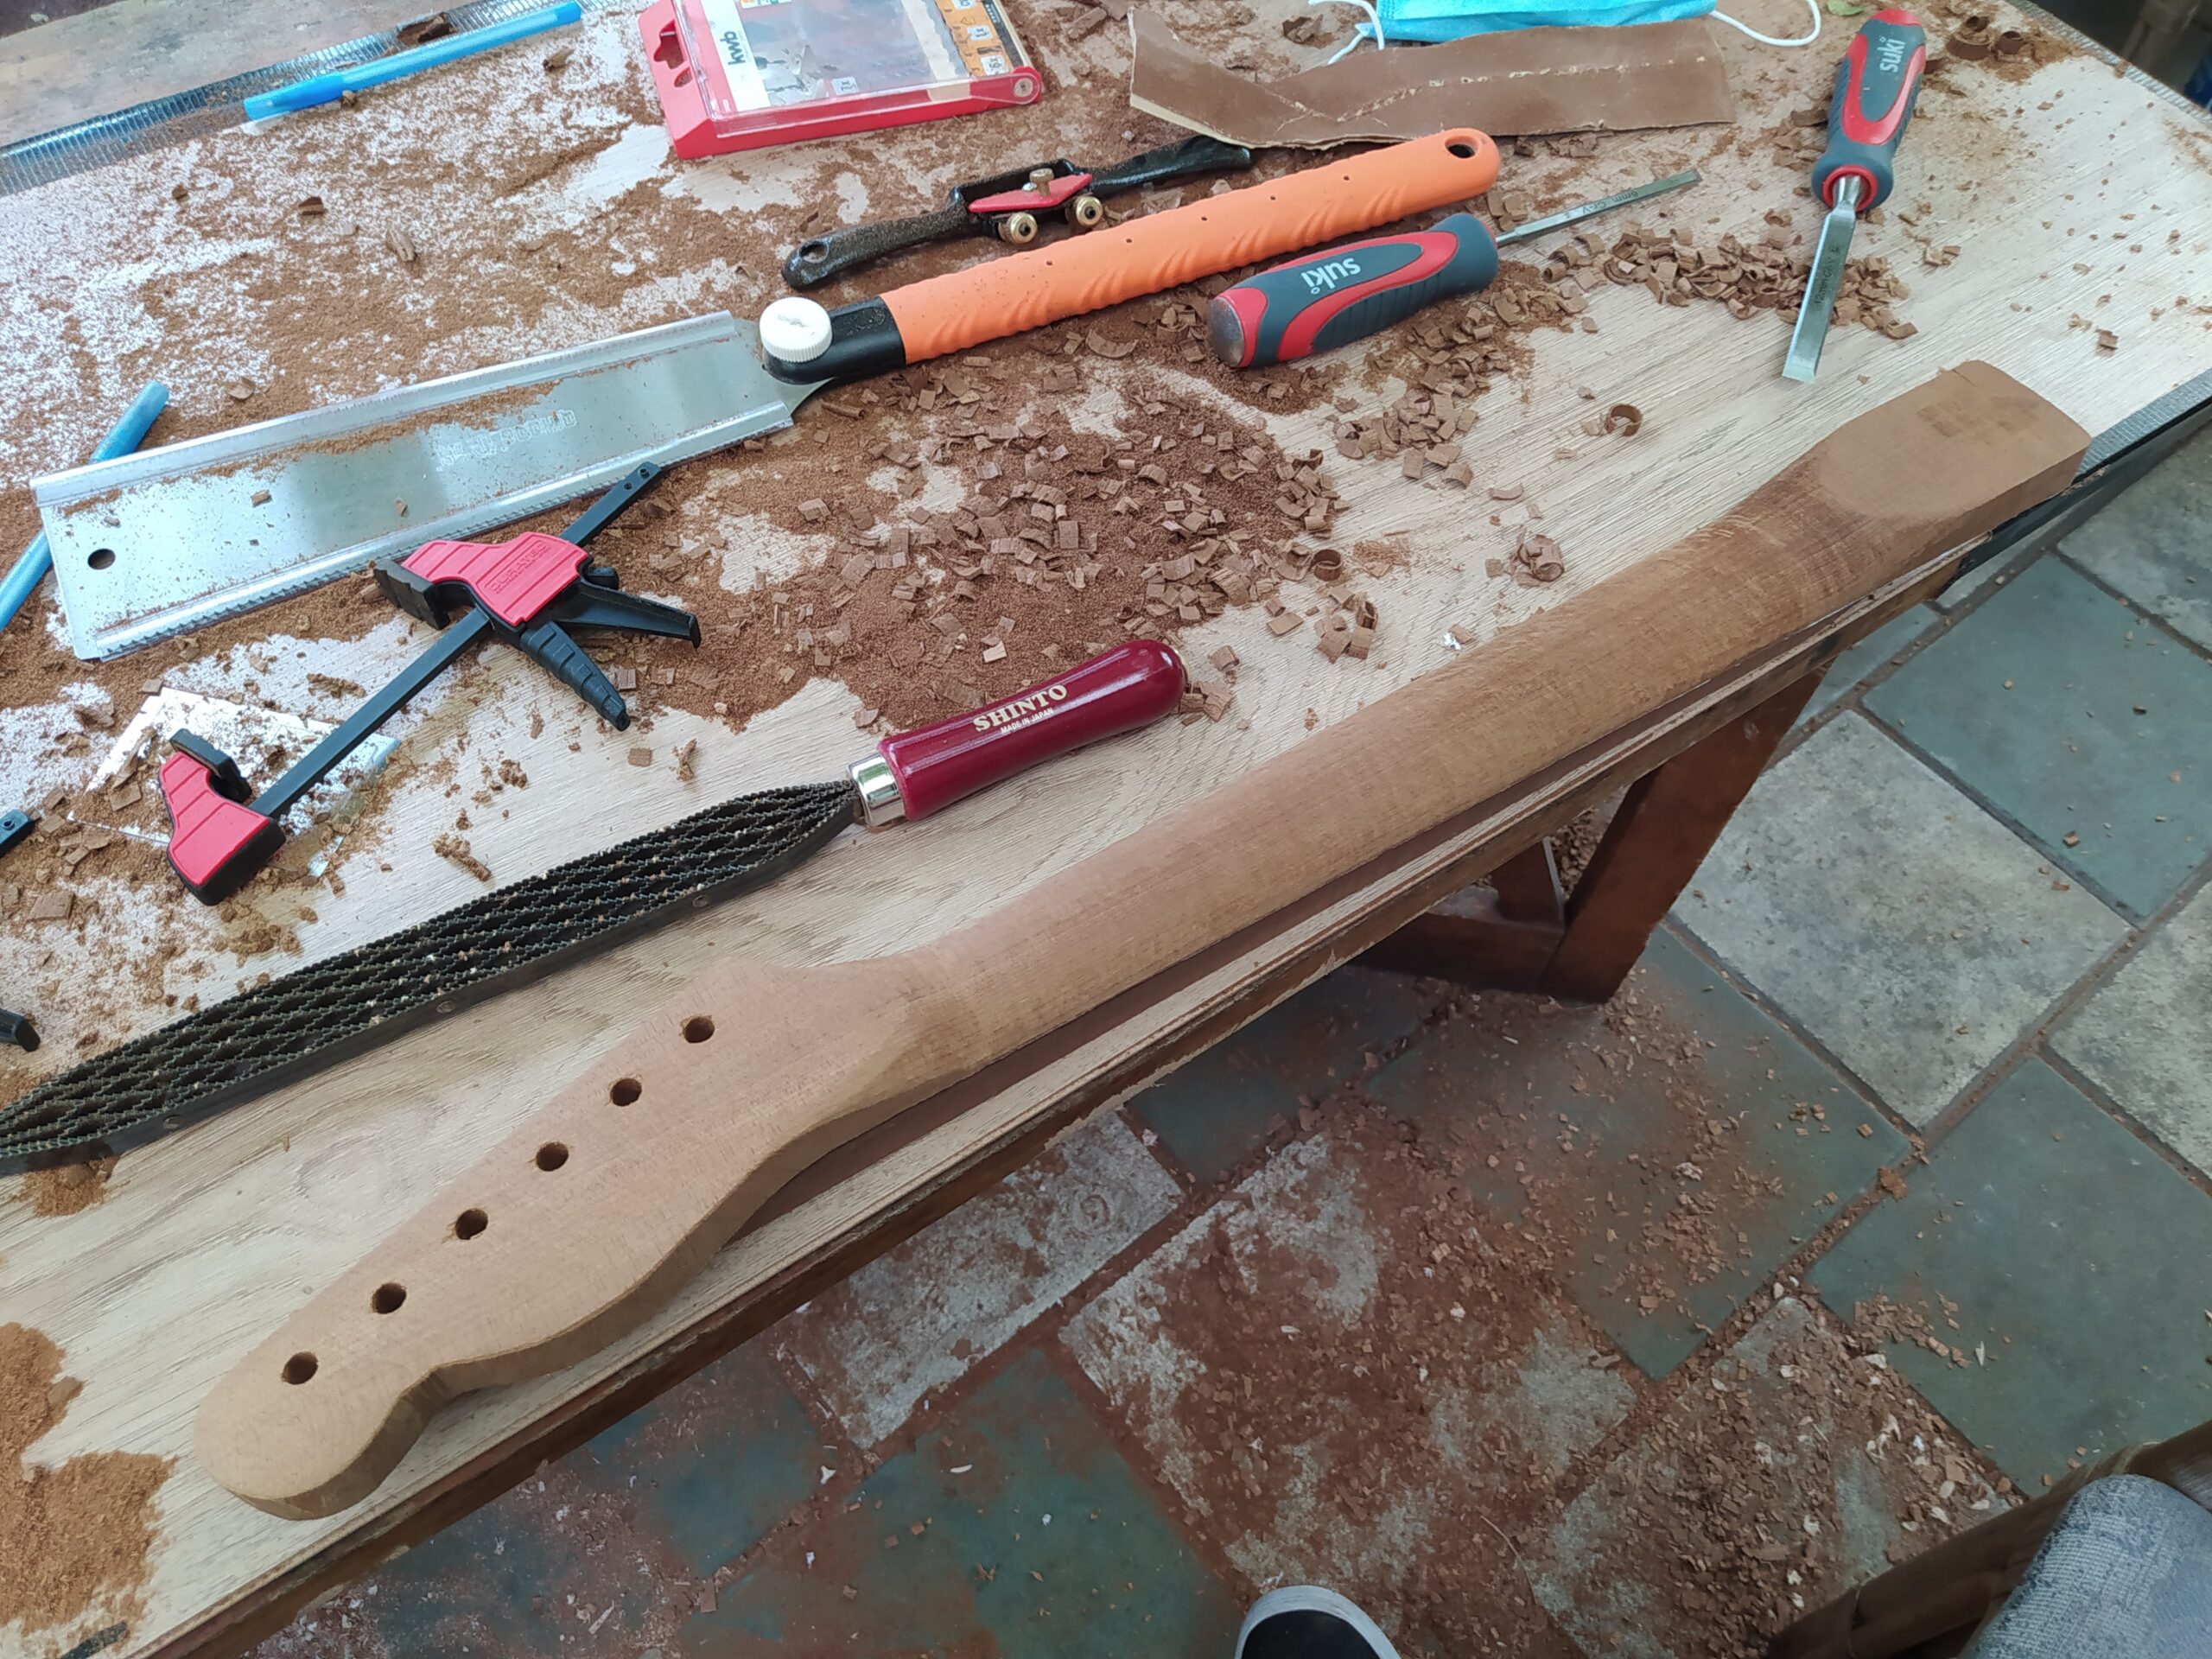
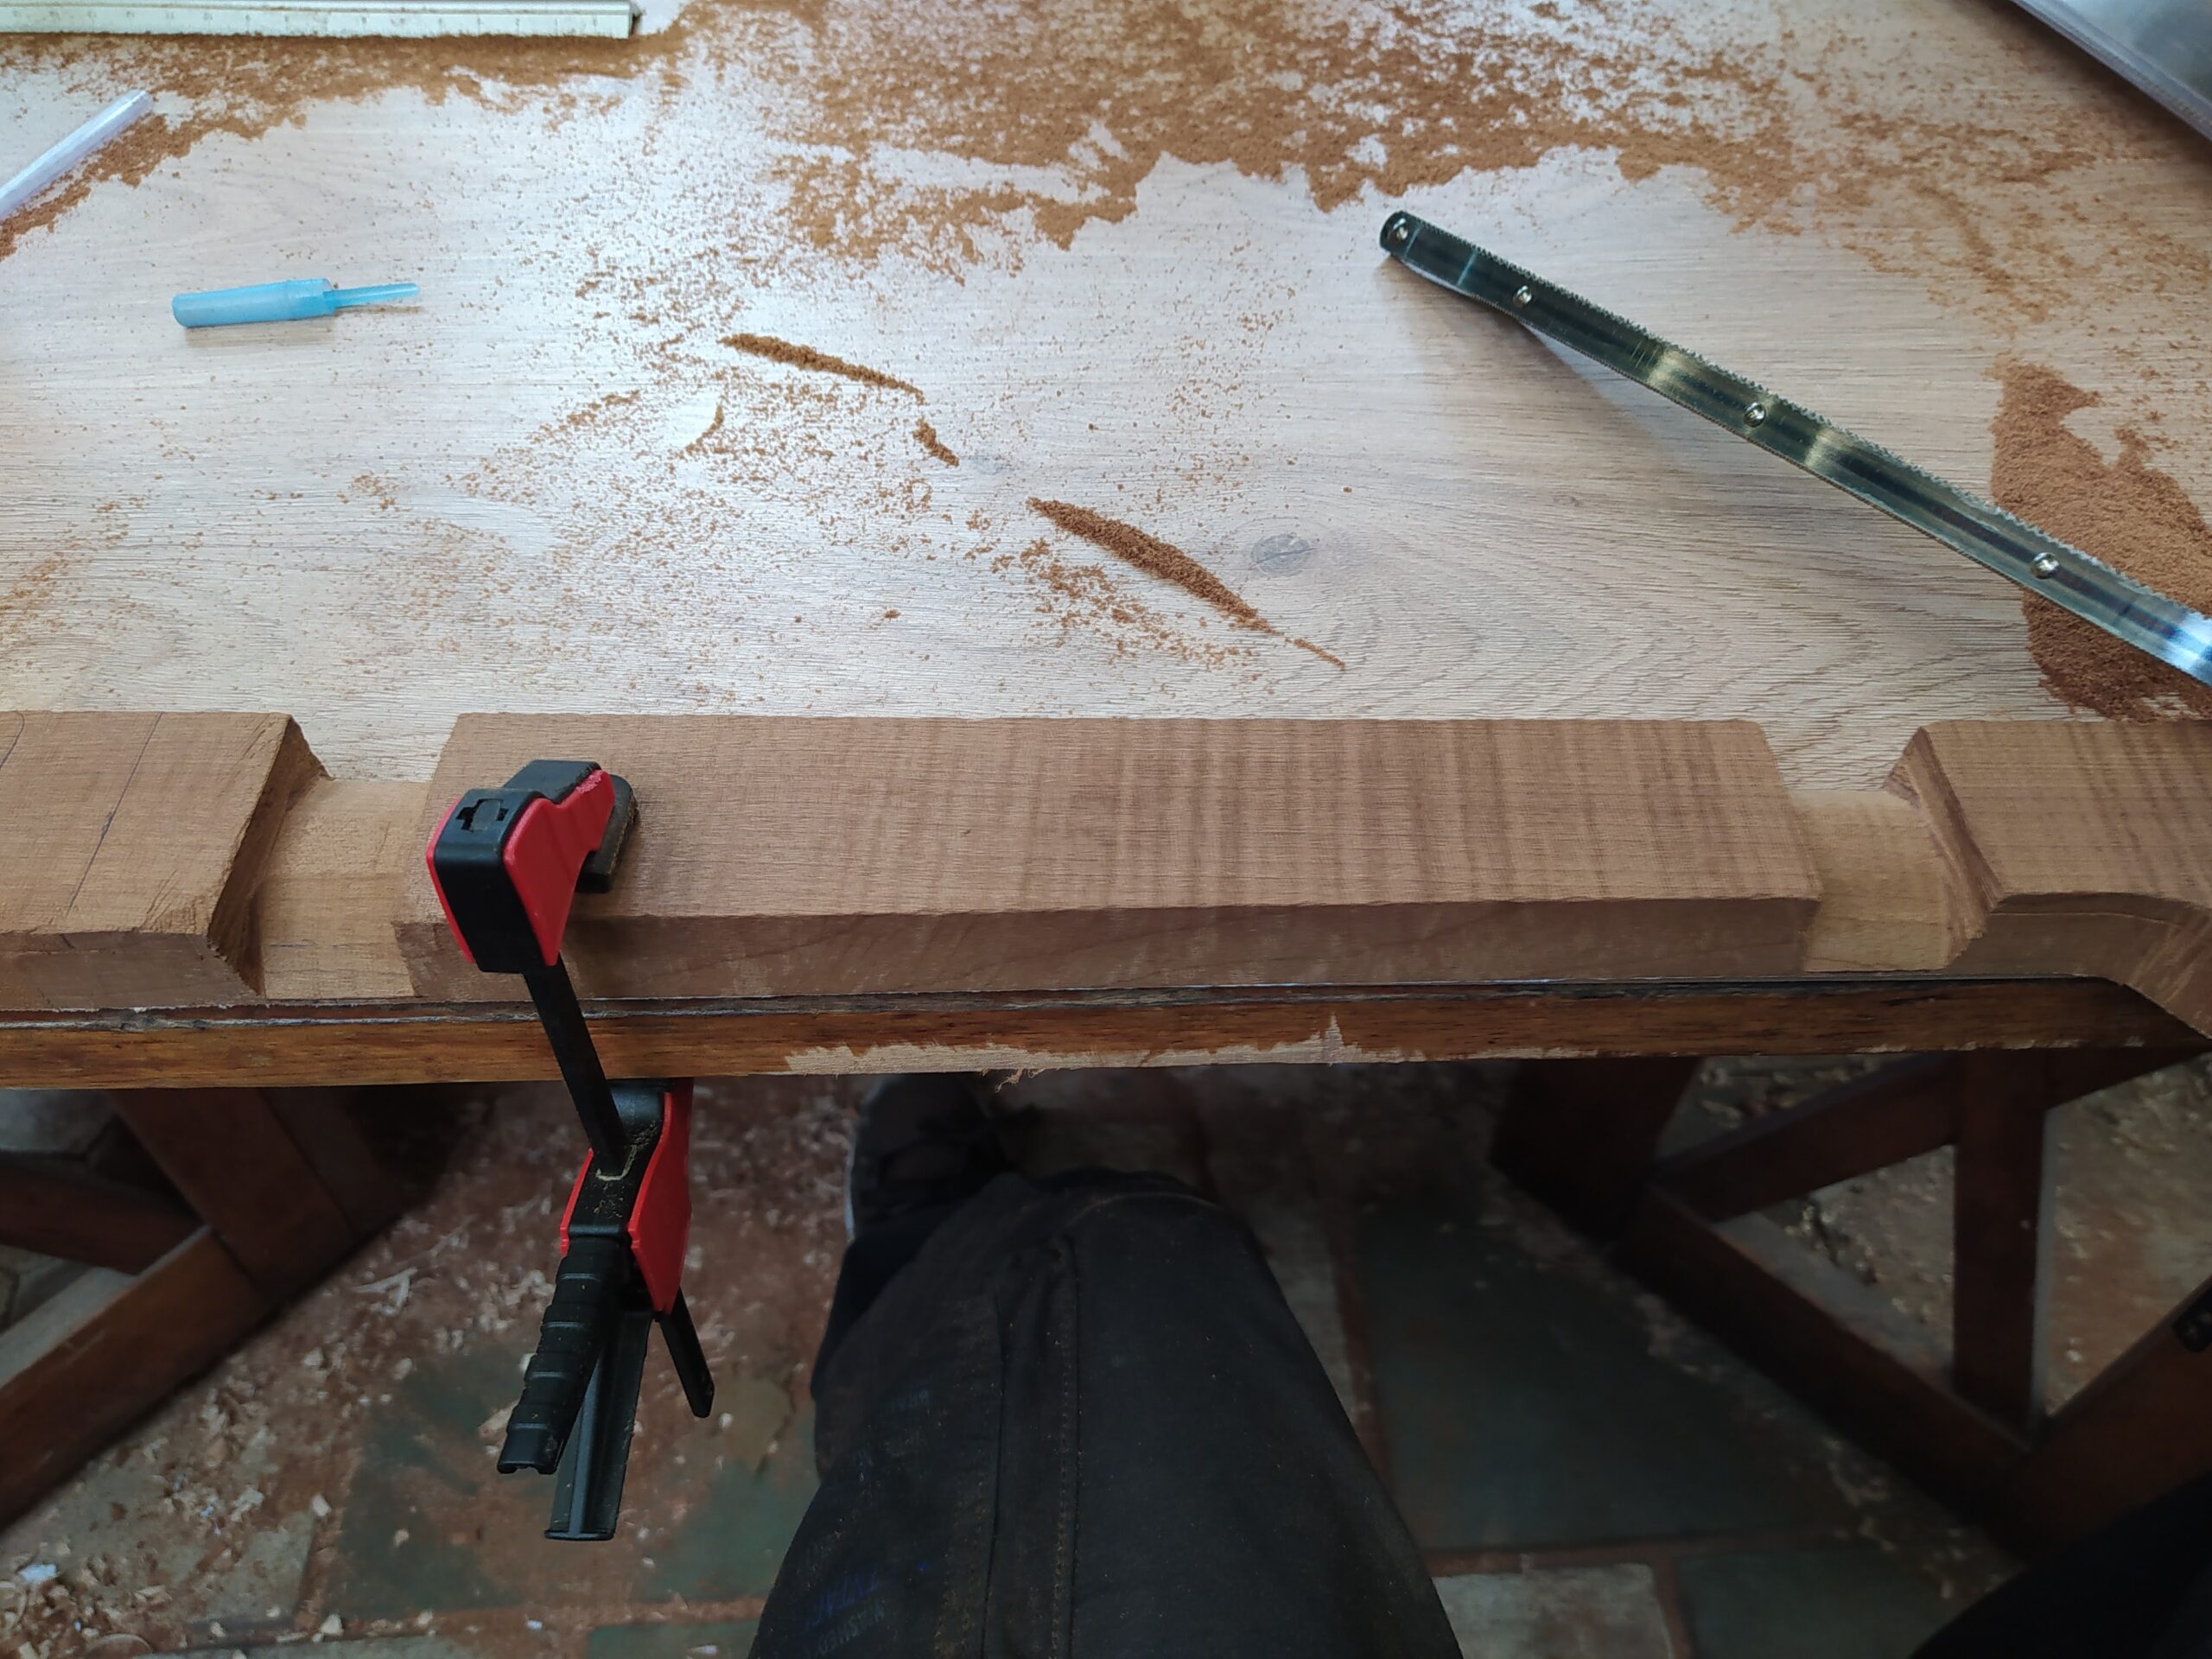
After finishing the body it was time to move on to the neck. I got a nice piece of flamed maple and started by again cutting out the rough shape with a saw. Next up was chiseling out pocket for the truss rod. Then I rasped the edges as close to the line as I could. Now I needed to shape the back of the neck. I decided on a modern C shape. I calculated the planes to cut to make the rough curve for the beginning and end sections. I used the shinto rasp the cut out those planes and then to smooth those over to round out the shape. Once that was done I used a handplane to plane between the two sections and form the C shape along the whole neck. Finally I blended the ends and the neck was pretty much done.
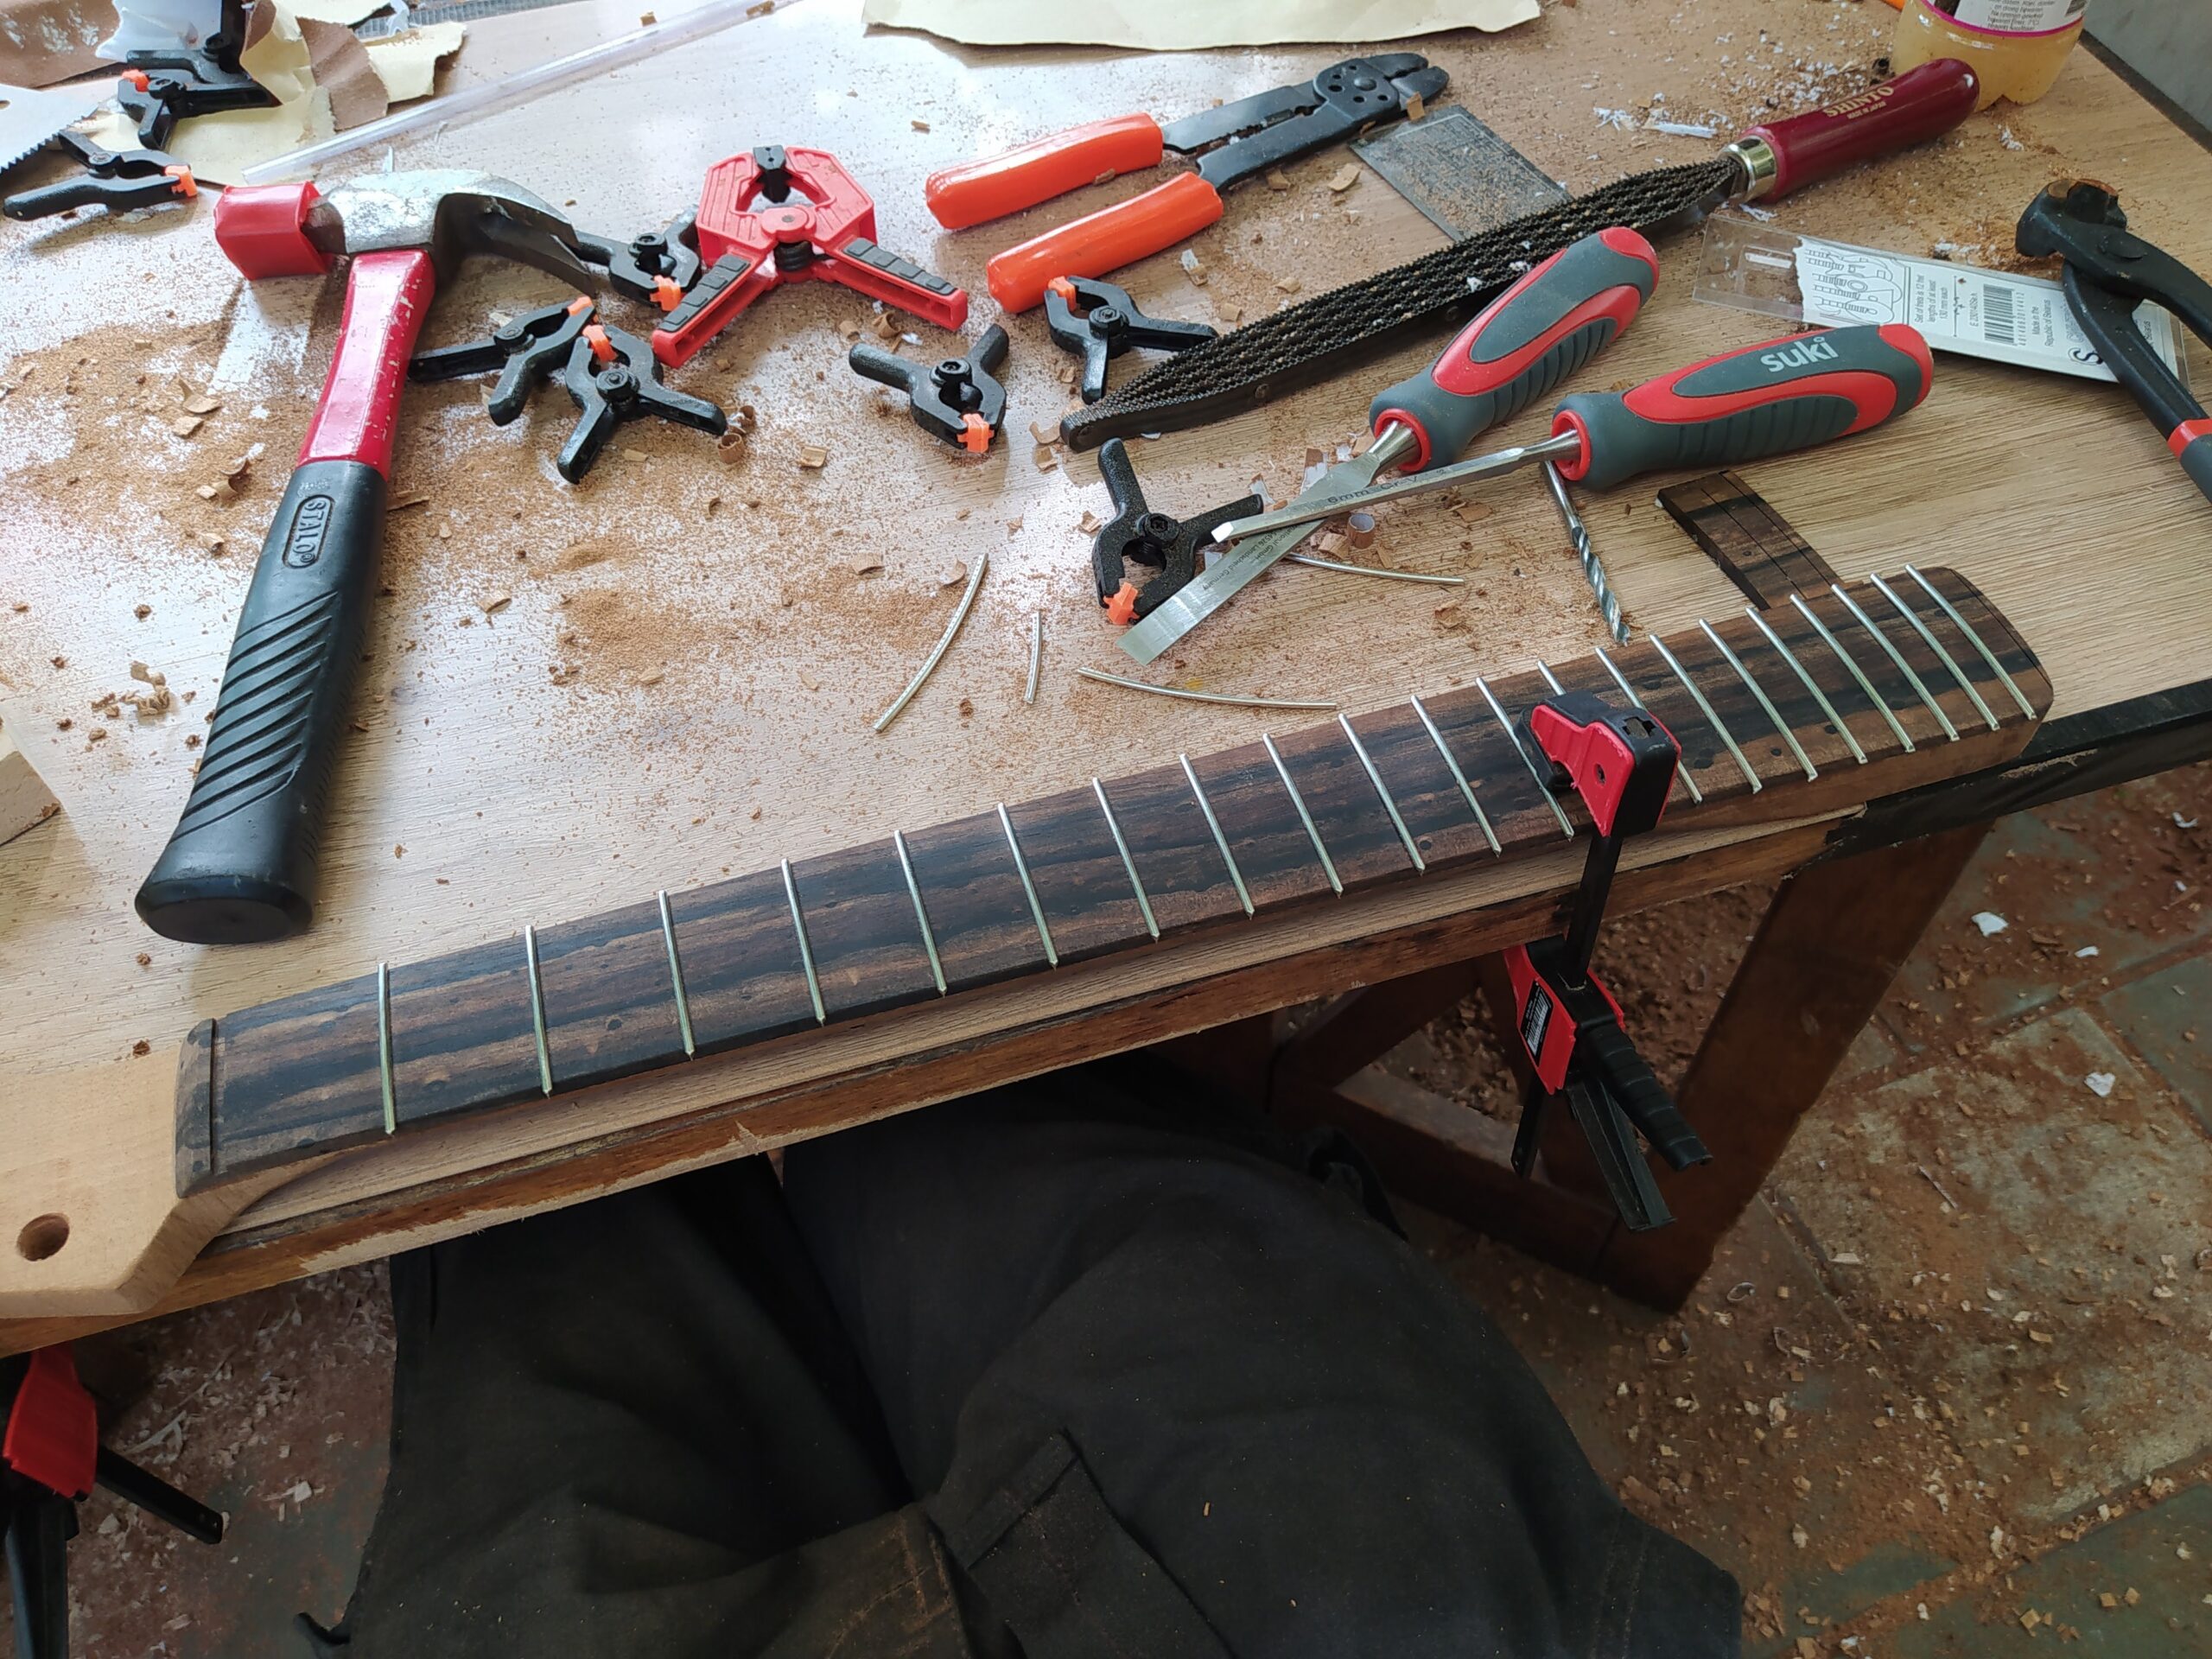
After that I installed the truss rod and glued the precut fretboard made of exotic ebony to the neck. Once the glue had dried I cut and rasped the fretboard to match the rest of the neck. It was now finally time to add the frets, cut them to shape and level them. I did the leveling by buying a piece of square aluminum tube and wrapping some sandpaper around it. I then ran this over the frets until all the frets had been sanded a bit. Then I used a fret file and fine sand paper to reround the frets and smooth them out.
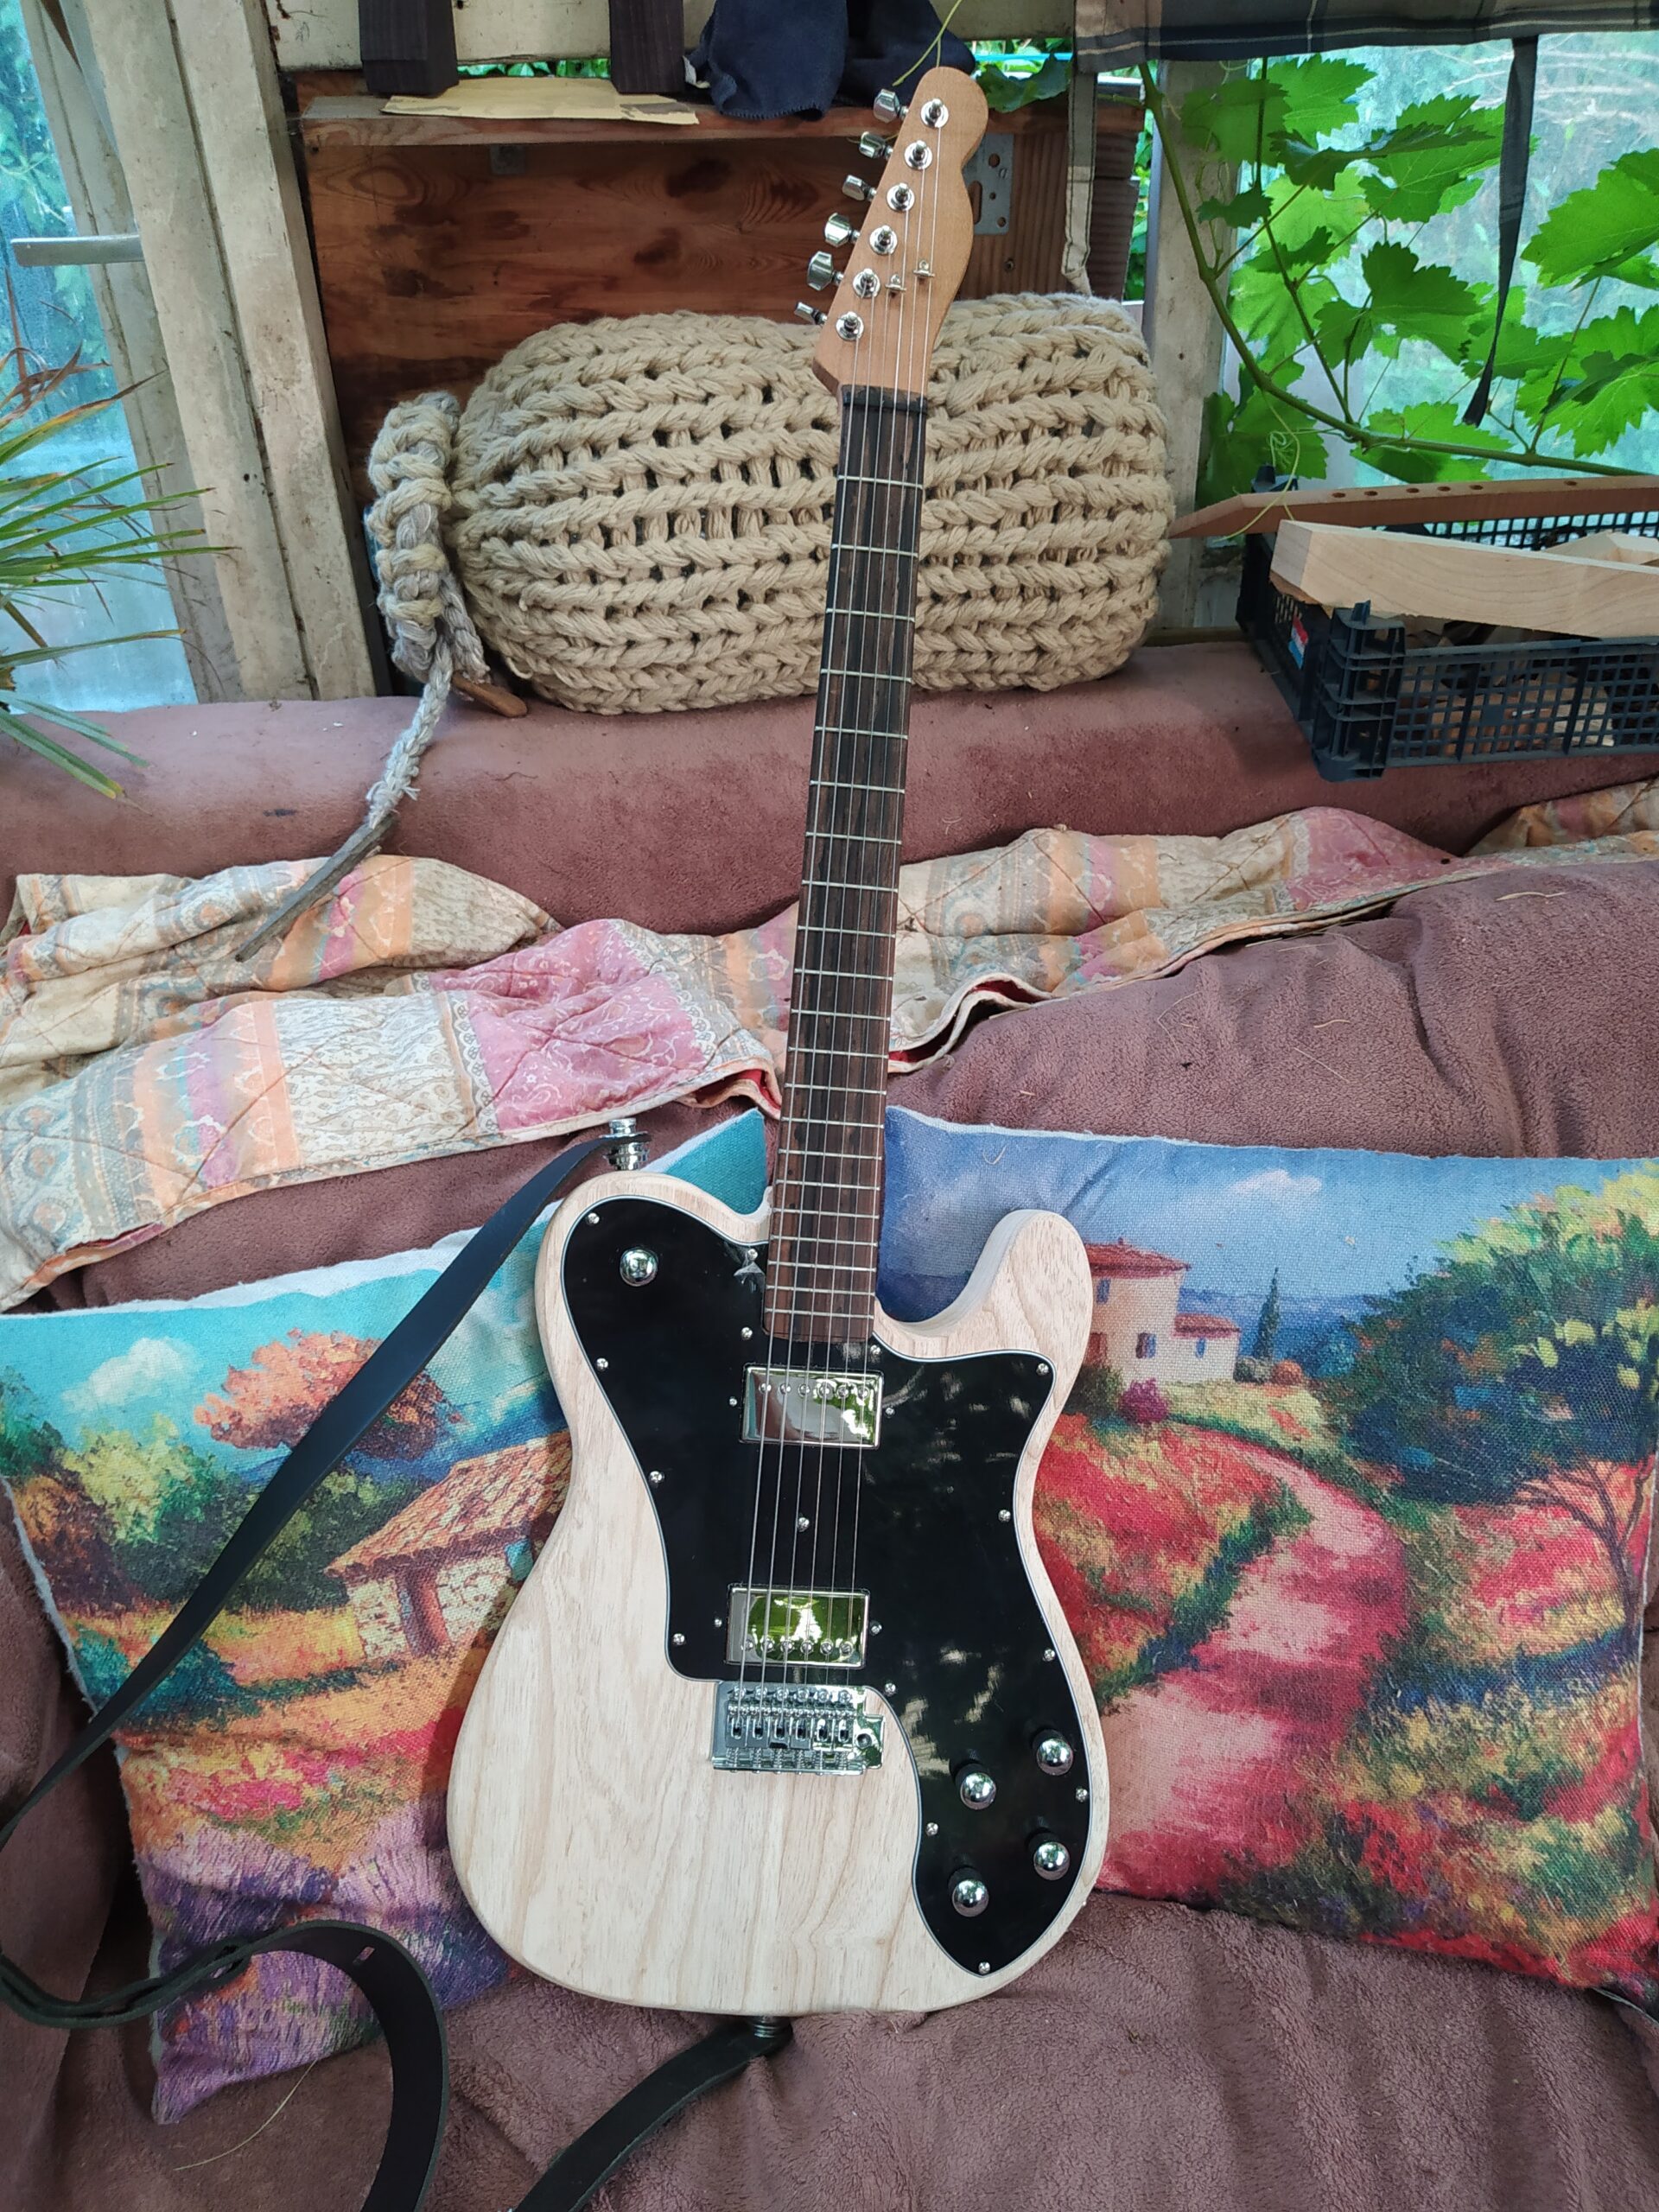
For the finish I went with a simple clear polymer wipe-on finish and just did several coatings. I really like the way the wood looks naturally so I just wanted to finish it without losing any of that natural color.
The electronic were fairly straight forward. 2 Seymour Duncan humbuckers. An SH-1 and a SH-4. 2 volume pots and 2 tone pots. I got a rotary 5 way switch instead of the standard 3 way switch because I wanted to be able to split the humbuckers. I also felt like making it rotary would look nicer. All the knobs are the same. After filing a nut and putting everything together, tremolo bridge, locking tuners. It was pretty much done. I did the general setup, fixed the intonation, adjusted the pickups and it was done. I’m really proud of the result. It looks great and plays and sounds amazing. All in it cost me about 800-900 euro’s but I think it was well worth it for the guitar that I got out of it.